![]()

Tutorial
Quite a few people have emailed me to ask how I create the Invisibilia pics. At first I didn't want to reveal my mystical secrets, but then I saw the light and decided to share the wisdom. It's actually very easy. I am not a great artist after all.
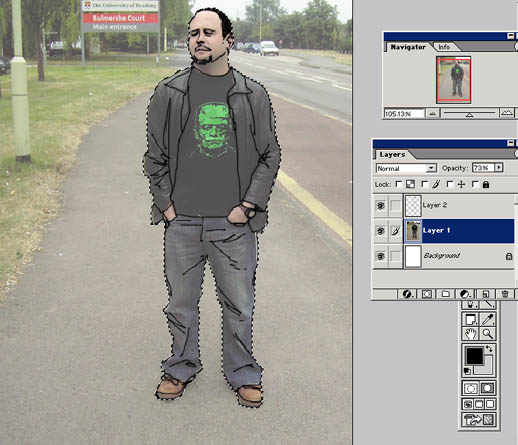
Step 1: Find a photo that you like, such as this one.

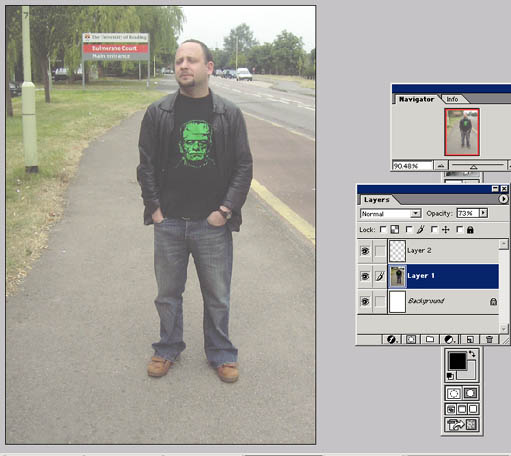
Step 2: Open the photo in Photoshop (or another similar graphics program). You need to have a white base layer, then another layer with the photo in it and then a transparent layer above it. Three layers, ok? You're going to trace the photo in the top, transparent layer. To make things easier to trace, you might like to reduce the opacity of the photo layer (but remember to click back on the top layer or you end up tracing in the photo layer, which is very annoying).
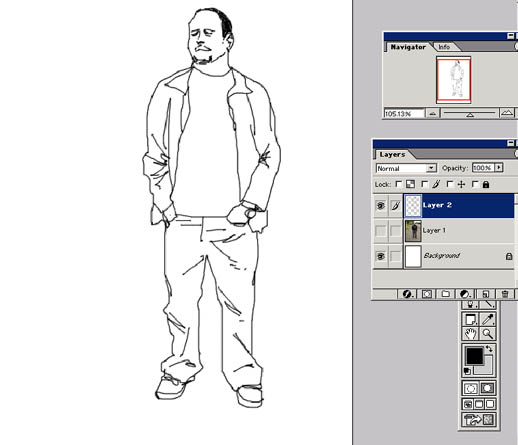
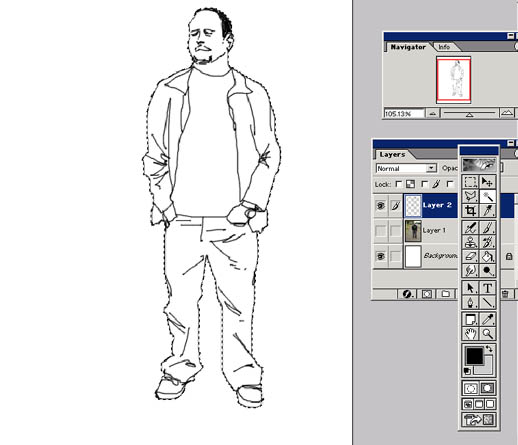
Step 3: Right. Now trace the layer with a small brush. Use whatever style you like, but leave no gaps!
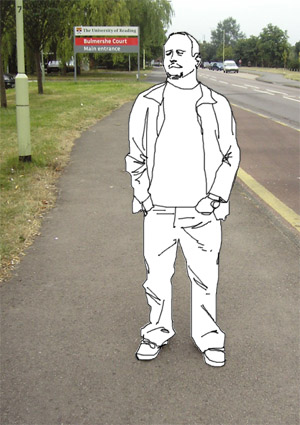
Step 4: Right. You've traced the photo. Well done. If you want to see what the tracing looks like, turn off the visibility of the photo layer.
Step 5: Use the magic wand, and in the top transparent layer, click outside the tracing, so that everything except the tracing is selected. Then, go to Select > Inverse. Now, only the tracing should be selected. See below for exciting results.
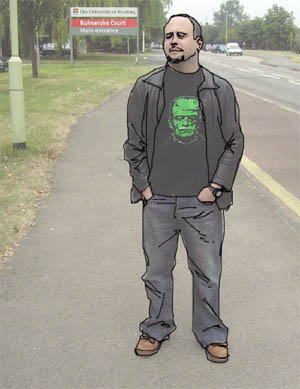
Step 6: Now, click back on to the photo layer.
Step 7: Press delete or cut, and hey presto! You've deleted the area in the photo directly below the tracing!
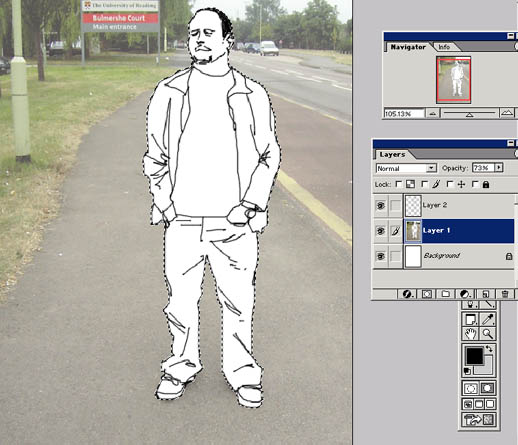
Step 8: Deselect everything, put the photo layer opacity back to 100% and you've done it. Now you too can rip off my style and impress your friends.